
Transform Plastic Bottles into Stylish Planters in Your Alpharetta Apartment
Plastic materials play a significant role in our daily lives, from vital medical equipment to essential auto components. Yet, many plastic items, primarily created for single-use, contribute vastly to environmental concerns.
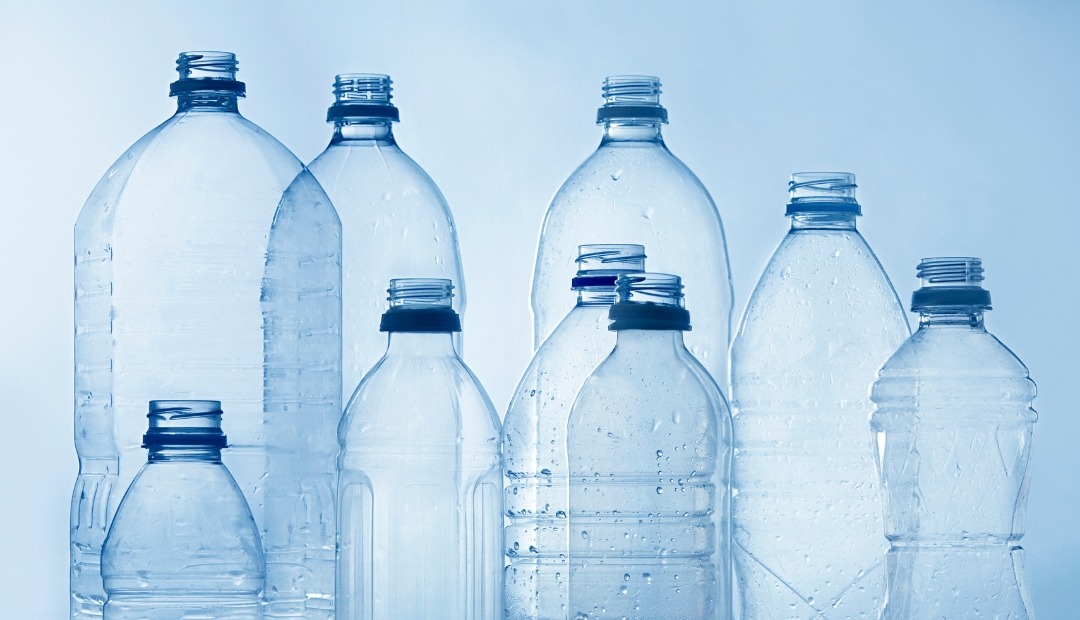
Among these is the ubiquitous plastic bottle. While adopting more sustainable options like glass bottles is a step in the right direction, completely avoiding single-use plastics remains challenging.
Many household products, from shampoos to cooking oils, come packaged in plastic bottles. Once tossed, they often find their way to landfills, rarely making it to recycling centers. But here's an innovative and environmentally friendly solution: convert your plastic bottles into charming planters for your Alpharetta apartment plants. Dive into this guide to learn how it's done.
1. Gather Your Materials
One of the perks of this project is the cost-effectiveness of creating unique planters without purchasing them from a store. Most materials can be sourced from your home or a quick trip to an arts and crafts shop in Alpharetta.
- Empty plastic bottles
- Sharp utility knife
- Durable scissors
- Smooth sandpaper
- Reliable masking tape or a marker
- Old newspapers for surface protection
- Colorful acrylic paint and brushes
- A preferred plant
- Rich potting soil
- Diverse pebbles
Before you begin, ensure your bottle is residue-free by removing labels, scrubbing off any sticky remnants, and giving it a thorough wash. Once clean, dry it with a cloth.
2. Designate the Cut Line
Lay a couple of newspaper layers over your working surface to shield it from any marks or paint stains.
Use your masking tape to create a straight line around the bottle as a cutting guide. In the absence of masking tape, sketching a line with a marker works perfectly as well.
3. Make the Cut
Employing the masking tape as a cutting guide, pierce the bottle using a utility knife before continuing with sharp scissors to slice around.
Discard the bottle's top section, then smooth away jagged remnants with scissors. Don’t fret if edges aren’t flawless; you'll have the chance to refine them through sanding.
4. Drill Drainage Holes
Upon cutting the plastic, create three to four holes at the base of your bottle using the utility knife. These holes facilitate proper drainage, preventing potential root decay in your plant.
5. Smooth and Decorate
Here comes the exciting creative portion: decorating. Prior to painting, you need a surface prepared to accept it.
Smooth out the cut edges and drainage holes with sandpaper for seamless results. Additionally, a gentle sanding over the bottle’s surface promotes improved paint adhesion. Eliminate any remaining dust using a clean towel.
With the surface ready, unleash your artistic side by painting the exterior in shades that complement your apartment's decor. The design is all yours, sparking an opportunity for limitless creativity!
6. Planting in Your New Planter
Ensure to grant ample drying time for your planter. Once dried, fill the bottle with potting soil and place your chosen plant inside.
Finally, top off the soil with a layer of pebbles and position your new DIY creation in a sunny corner of your Alpharetta home, bringing a touch of nature to your space.
At Woodhaven at Park Bridge, known for its impeccable service and inviting atmosphere, your lifestyle reflects not only comfort but also a creative and environmentally conscious approach.
Looking for an Inviting Place for Both You and Your Pets?
Woodhaven at Park Bridge offers residences in Alpharetta that not only welcome pets with open arms but provide an array of amenities perfect for modern apartment living. From a dedicated dog park with a pet spa to spacious floor plans, this Alpharetta community considers the happiness of its residents and their pets paramount. With our vibrant neighborhood offerings, enjoy a community where both you and your four-legged friends can thrive.